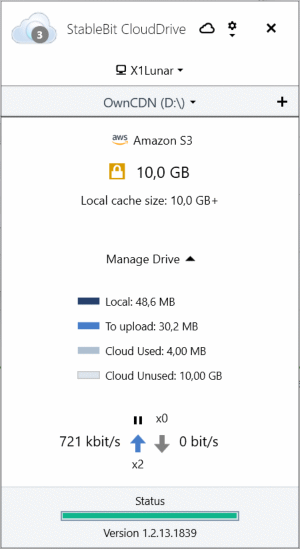
CloudDrive is a Windows program which "creates a virtual hard drive that is indistinguishable from a real drive, and stores the actual data in the cloud provider of your choice (or locally)".
One of the storage options is "Amazon S3 compatible third party service" - which is compatible with OwnCDN.
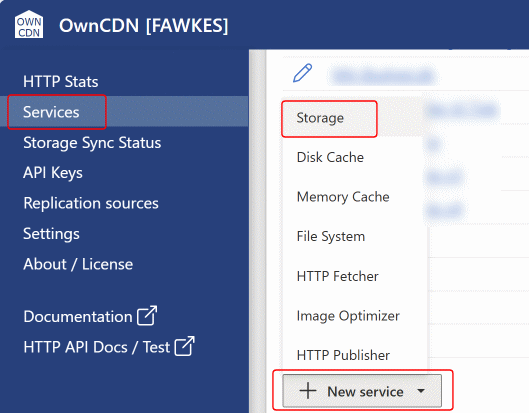
First we need to create a new "Storage" service in OwnCDN to hold the data for the virtual hard drive.
In OwnCDN, click "Services" in the left side menu, click the "+ New service" button, and click "Storage":
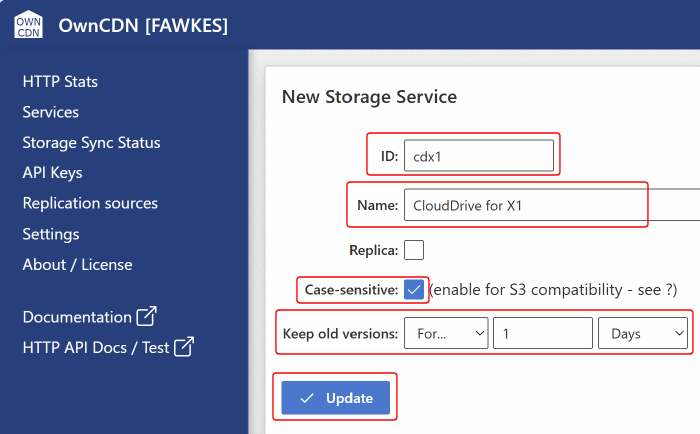
Enter an ID and Name for the Storage service, make sure to check "Case-sensitive", specify hold long old versions should be kept for (the length of time back you can do point-in-time restores), and click the "Update" button:
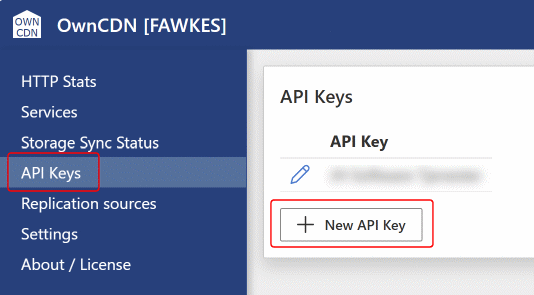
Click "API Keys" in the left side menu, and click the "+ New API Key" button:
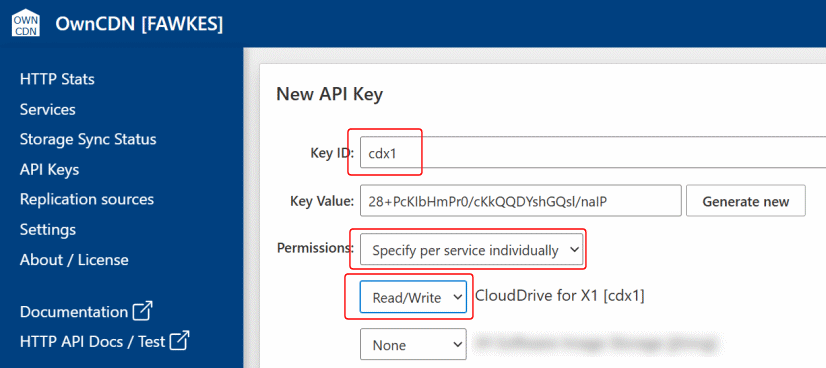
Enter an ID, set Permissions to "Specify per service individually", and set the permission for the Storage service created (see above) to "Read/Write", and click the "Update" button:
Next, we need to set up a connection to OwnCDN in StableBit CloudDrive:
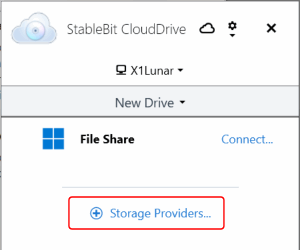
In StableBit CloudDrive, click the "(+) Storage Providers..." link:
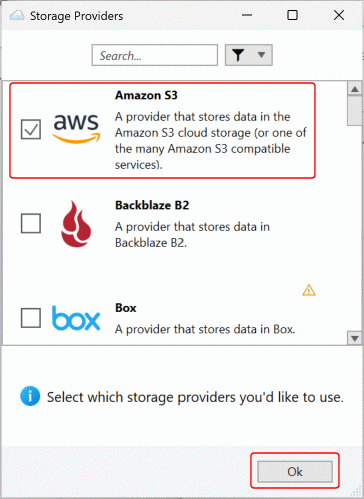
Enable "Amazon S3" and click the "OK" button:
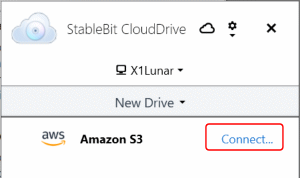
Click the "Connect..." link next to Amazon S3:
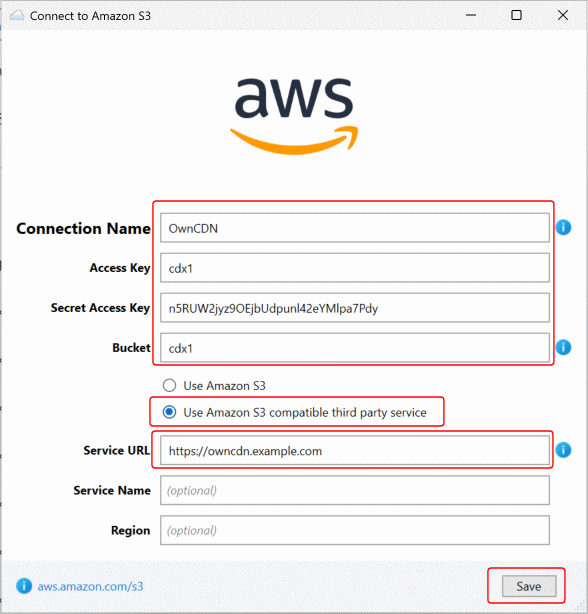
Enter a name for the connection, in the Access Key field and Secret Access Key fields enter the API Key ID and Key Value from OwnCDN, in the Bucket field enter the Storage service ID from OwnCDN, select "Use Amazon S3 compatible service", and in Service URL enter the root address of your OwnCDN instance (note that this must be an HTTPS address), and click the "Save" button:
Next, we need to create a new drive in CloudDrive using the connection to OwnCDN created above:
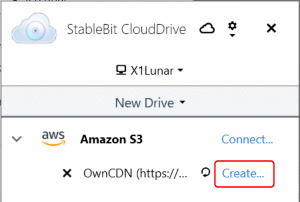
Click the "Create..." link next to the OwnCDN connection:
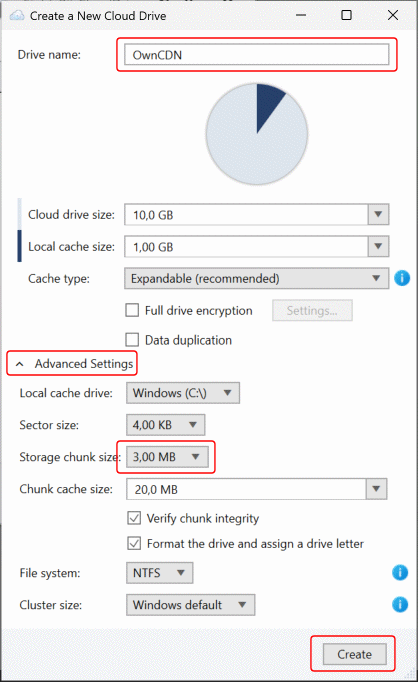
Enter a name for the drive, specify size etc., and click the "Create" button.
We recommend setting the "Storage chunk size" to 3,00 MB (under "Advanced Settings") as this is most efficient with OwnCDN:
You should now have a working virtual drive using OwnCDN for storage: